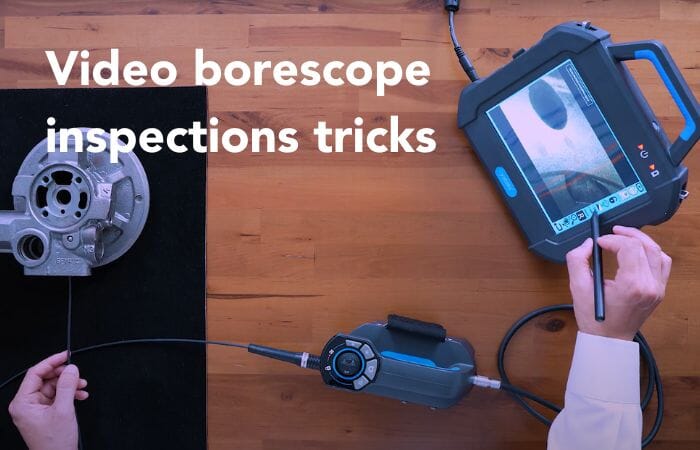
Video borescopes are remote visual inspection tools designed to look inside hard-to-reach manufactured part internals and recesses. Most of these tools have features that help you get inspections done quickly and accurately. In this post, read some professional tips on how to best use your video borescope.
This Part 2 of a 2-part video borescope educational blog series.
Video Borescope Use and Features
Inspectors use video borescopes to inspect parts and machinery for fact-finding and quality assurance purposes. Below are video borescope features and functionalities that define these tools (refer to Part 1 of this blog series for more information):
- Small diameters - ranging from about 1 - 6 mm in outer diameter, video borescope probes can look inside very small and intricate passages.
- Tip articulation - most video borescopes can articulate in 2 or 4 directions for probe maneuverability and camera sensor positioning.
- Illumination - internals of parts have little to no light, so video borescope tips generally have LED illumination for imaging.
- Rugged sheathing - many industrial parts needing inspection have edges, burrs, and hard surfaces. Video borescopes use rugged materials such as stainless steel and/or titanium for repeated use inside these environments.
Leveraging the Latest Video Borescope Technology in Inspections
With the latest digital camera technology, many video borescopes, like the Yateks P+ Series Industrial Video Borescope, have features that make inspections quick, effective, and efficient. The Yateks P Series has image locking, negative imaging, and measurement approximation features that can be leveraged to get better inspection results.
With over 40 years of experience, here are a few insider tips from InterTest that make inspections more efficient with video borescopes.
1. Don't want to lose sight of an on-screen image? Use the Image Lock Feature

Whether you found an area of interest, or you need to reset your grip on the joystick controls, the Image Lock feature freezes the screen, so you don't lose sight of your target. This is helpful in part inspections where scope orientation is difficult, or you just need to stretch your arms and hands. To turn this feature on:
- Tap the "lock" icon on the right side of your screen.
- The image will freeze the screen until you tap the "lock" icon again.
2. Having trouble seeing discoloration or staining on part wall? Use the Negative Film Effect

The "Negative Film" Effect (High Contrast mode) is useful for viewing hard-to-see part discoloration or staining in low contrast areas. To use, simply hit the icon on the right side of the screen and see flaws or staining jump out on the screen.
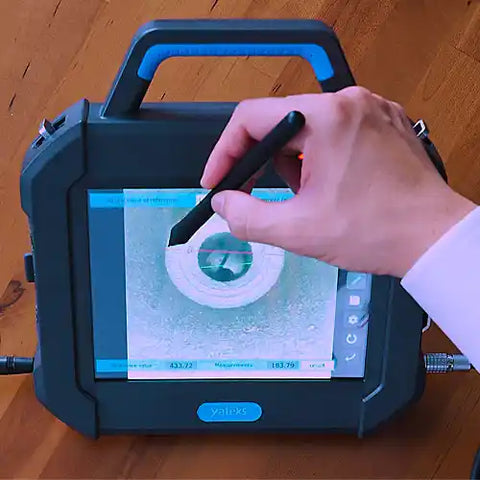
3. Want a quick 2D measurement of an unknown value? Use the Approximate Measurement Feature

The approximate measurement feature is a tool for estimating the size of a defect in your part. This is useful for quickly identifying part defects against quality tolerances. However, this ONLY is for approximation and will not give exact measurements.
To use this feature:
- Capture a still image of an area with a known measurement value and an unknown value.
- Tap two points to draw a line spanning the known value to create a reference value in pixels.
- Input the known measurement (example 4 mm) into the “Actual value of reference.”
- Tap another two points to draw a line spanning the unknown value.
- The software will compute a value for the unknown
For more insider tips, sign up for our newsletter at the top right of this page, or contact us. InterTest, Inc. has over 40 years experience and knowledge of how to get the best of your video borescopes.

